Bringing Art into VR with AI
Consider reading Bringing Art into VR for additional context before continuing further.
This is less of an article, and more of my account of trying out different AI tools in the last years, with the goal of making the process easier and more fun. Ideally I’m trying to find a workflow based on open or free solutions, so I’m not trying to investigate everything out there.
Also, AI tools for 3D workflows are generally oversold in the media. These methods are often slow and output lower resolution images/geometry.
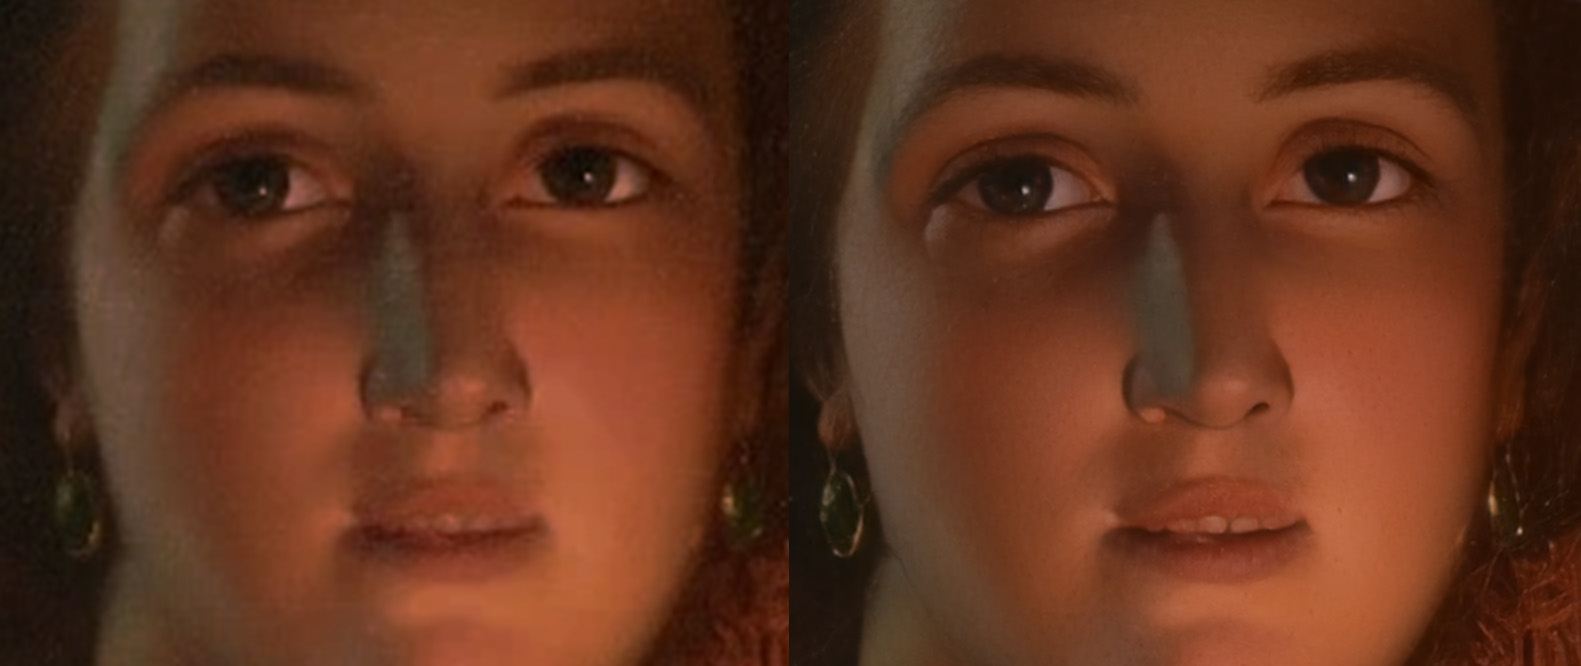
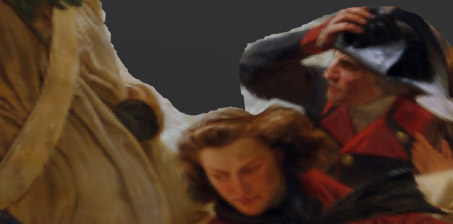
AI Inpainting
Inpainting just means that you have an area inside an image that you want to be filled in. With AI Inpainting you also specify a prompt (a text description of what you want).
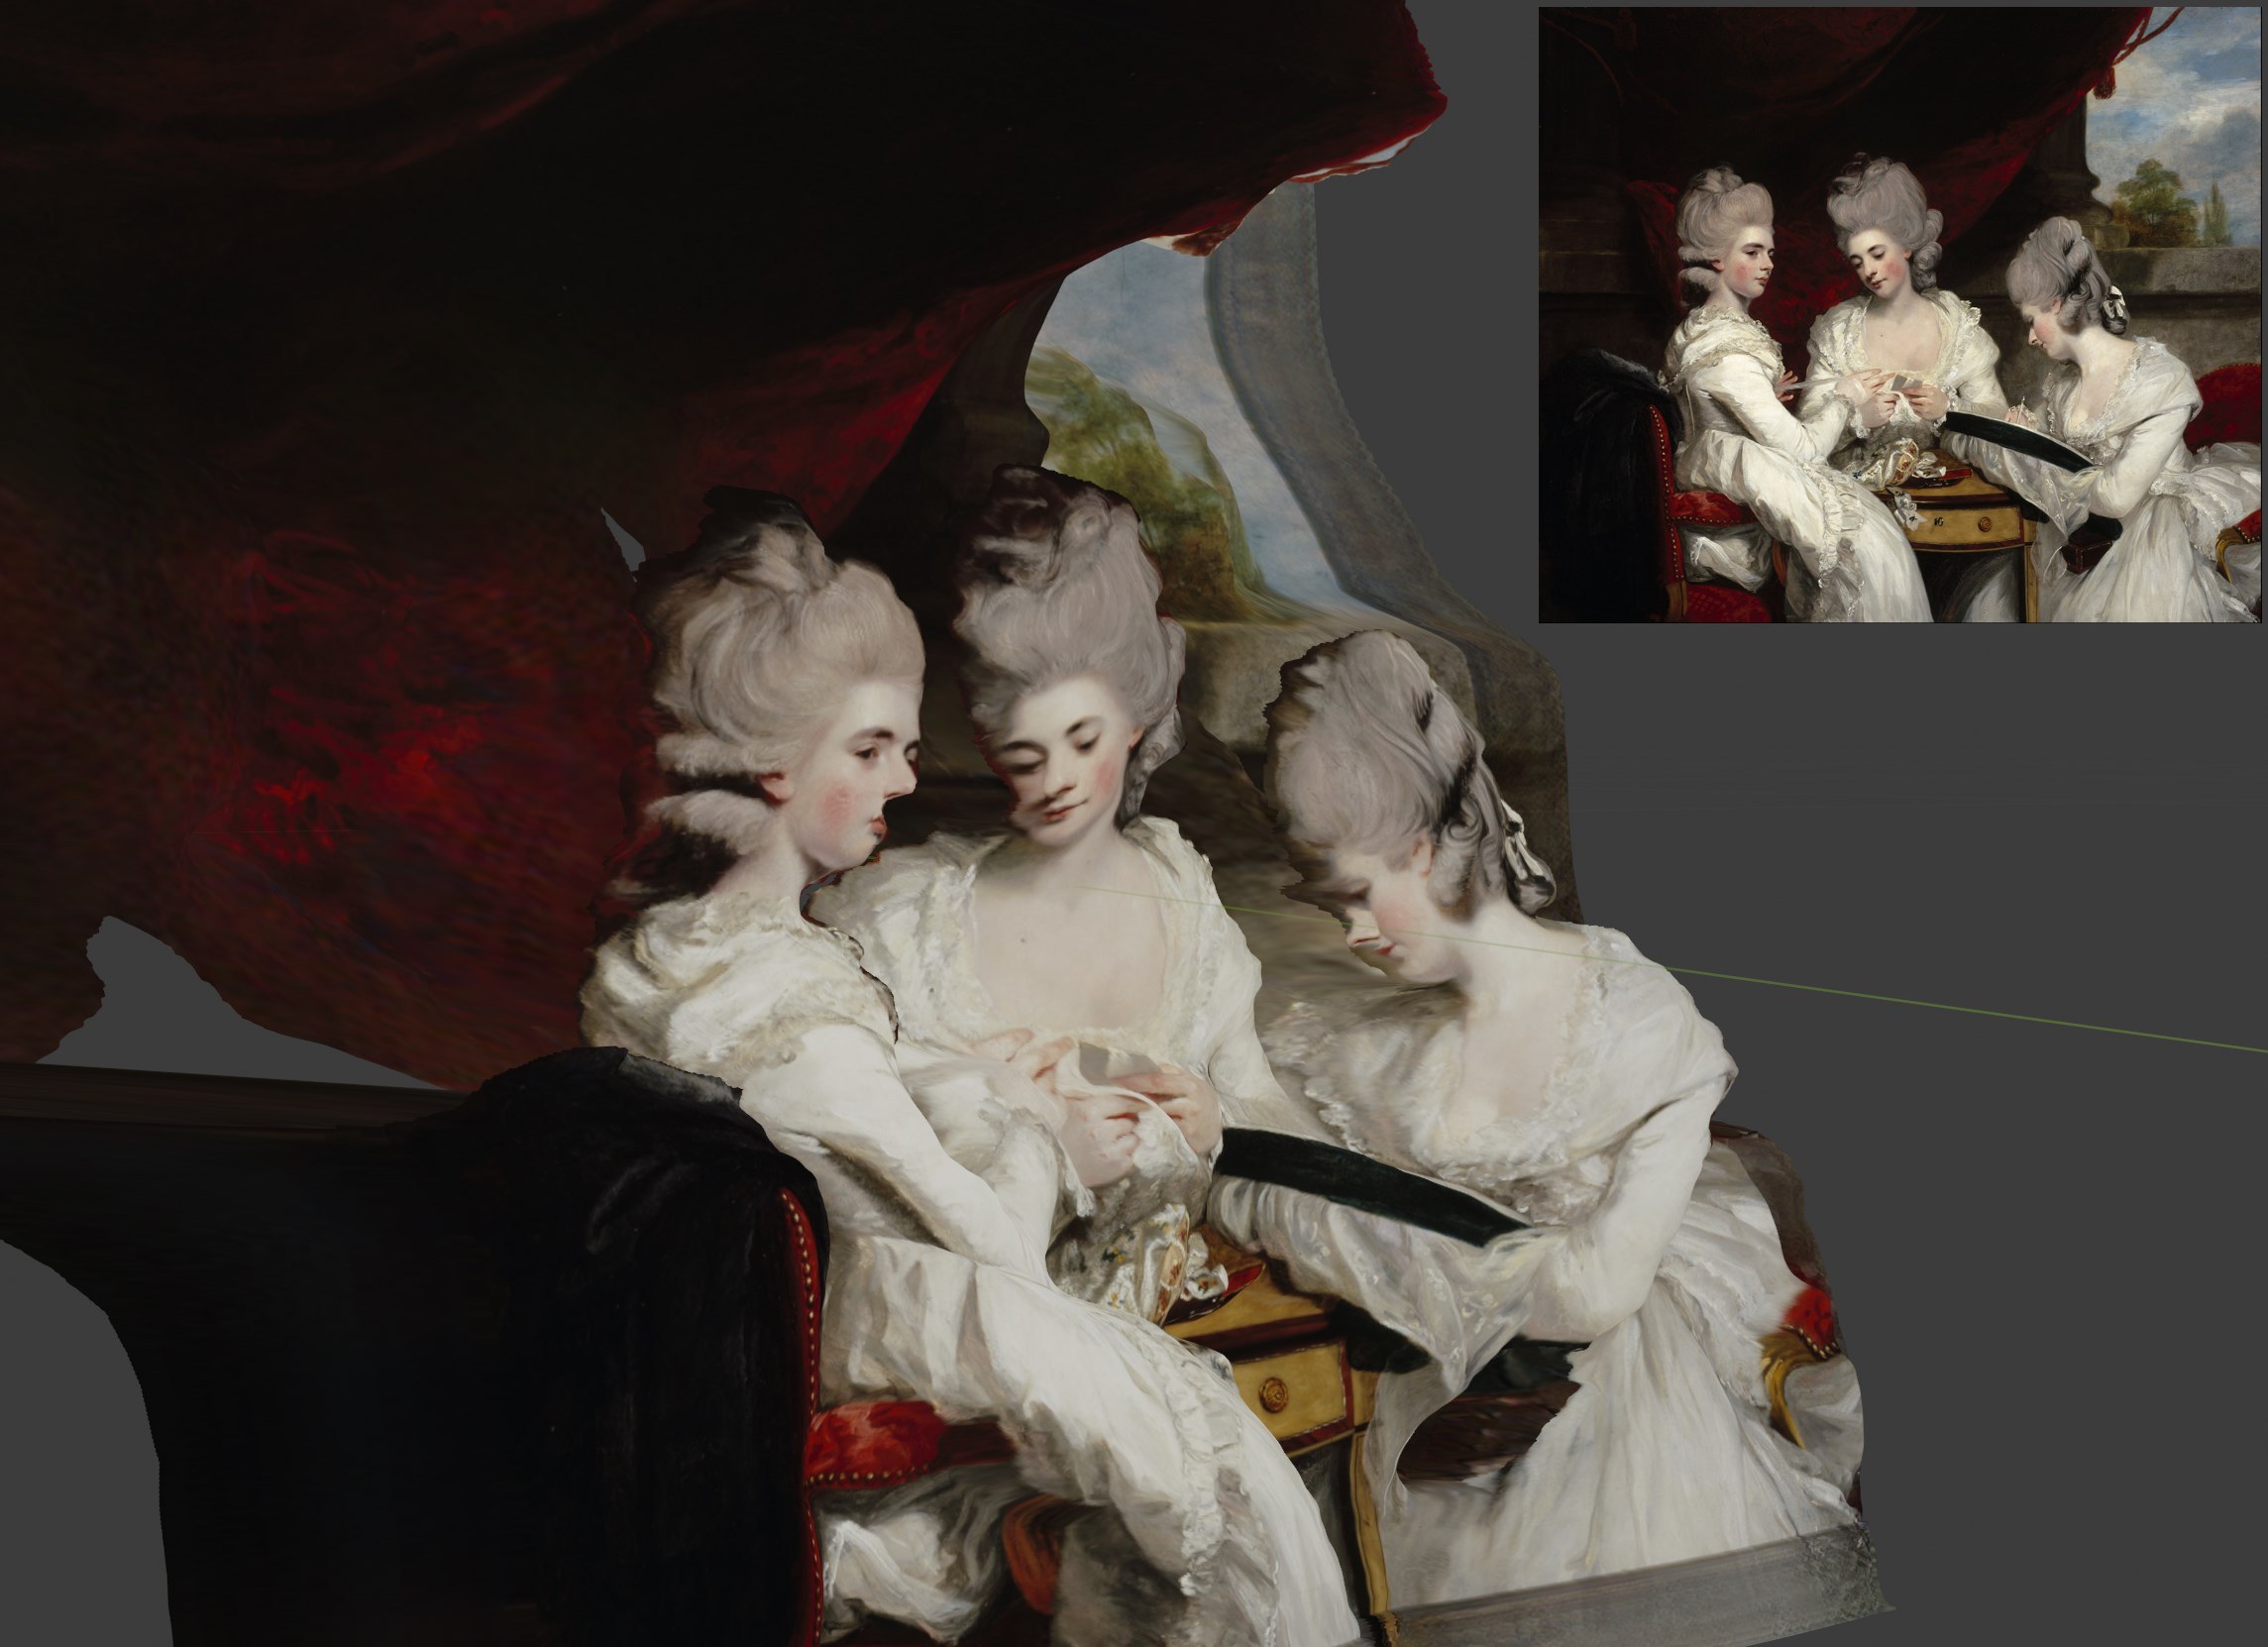
This can work for smaller details like this occluded face:

Blender + Krita AI Diffusion
Combining Blenders Quick Edit with Krita AI Diffusion gives a nice workflow for fixing stretched and missing textures. Generative AI is good at generating a photographic look, however I don’t recommend using this for virtual reality. A painterly look works ok because it better avoids uncanny valley
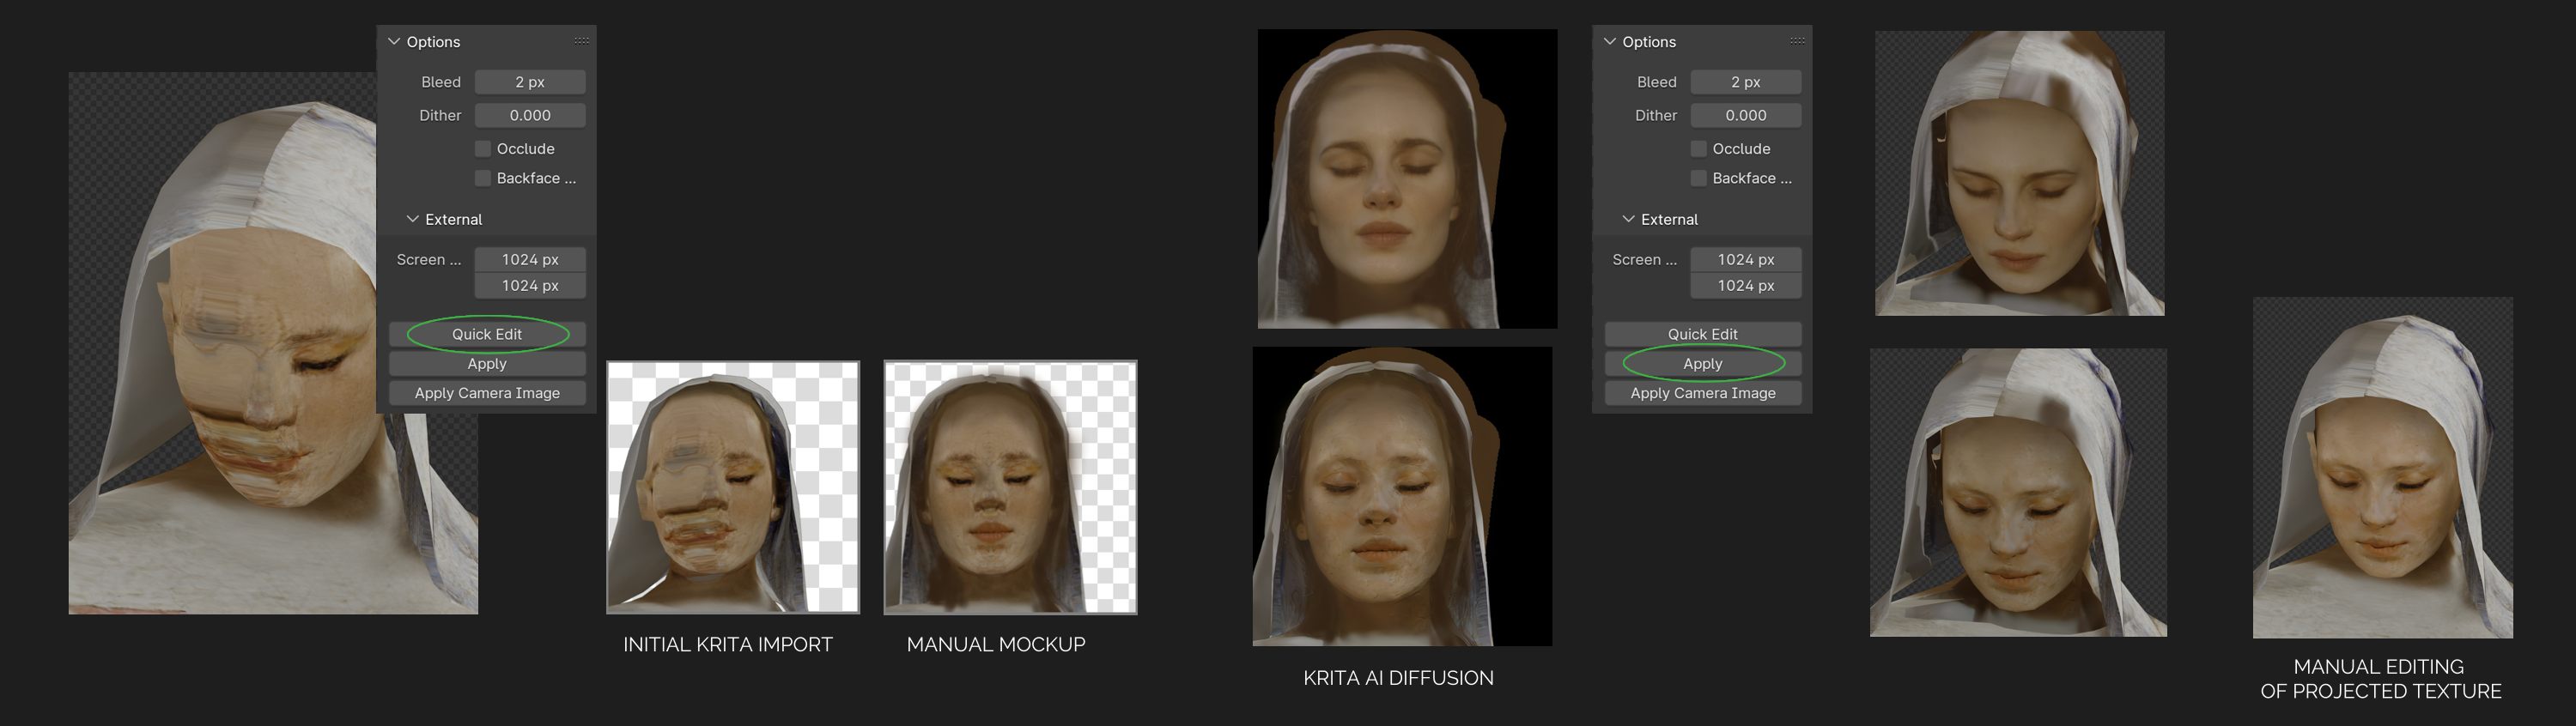
I found it useful to turn off occlude and backface culling, and then in the last step manually blend the Quick-Edit projected texture with the original one for better control. I still had some problems with color shifting as textures are brought to Krita and back to Blender.
For this workflow, Blenders Quick Edit should ideally support exporting a depth-map along with the image. This depth-map could then help Krita AI Diffusion to generate better results. I would also like to be able to disable the way Quick Edit fades out the projection depending on the angle of the surface.

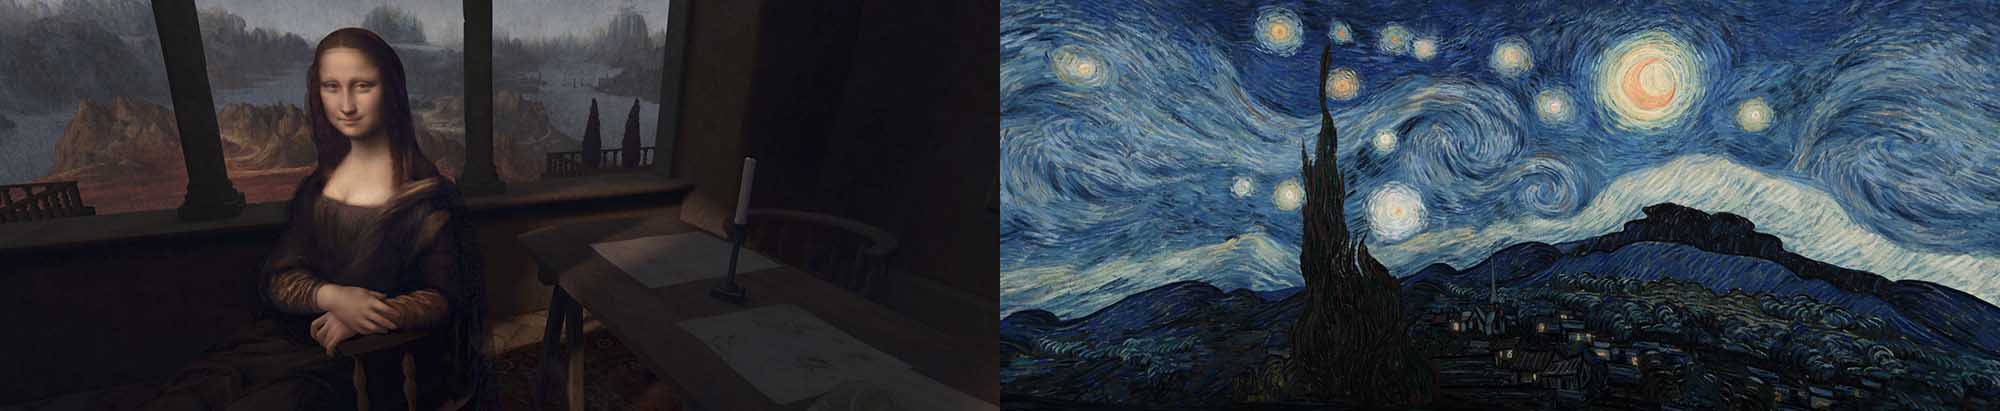
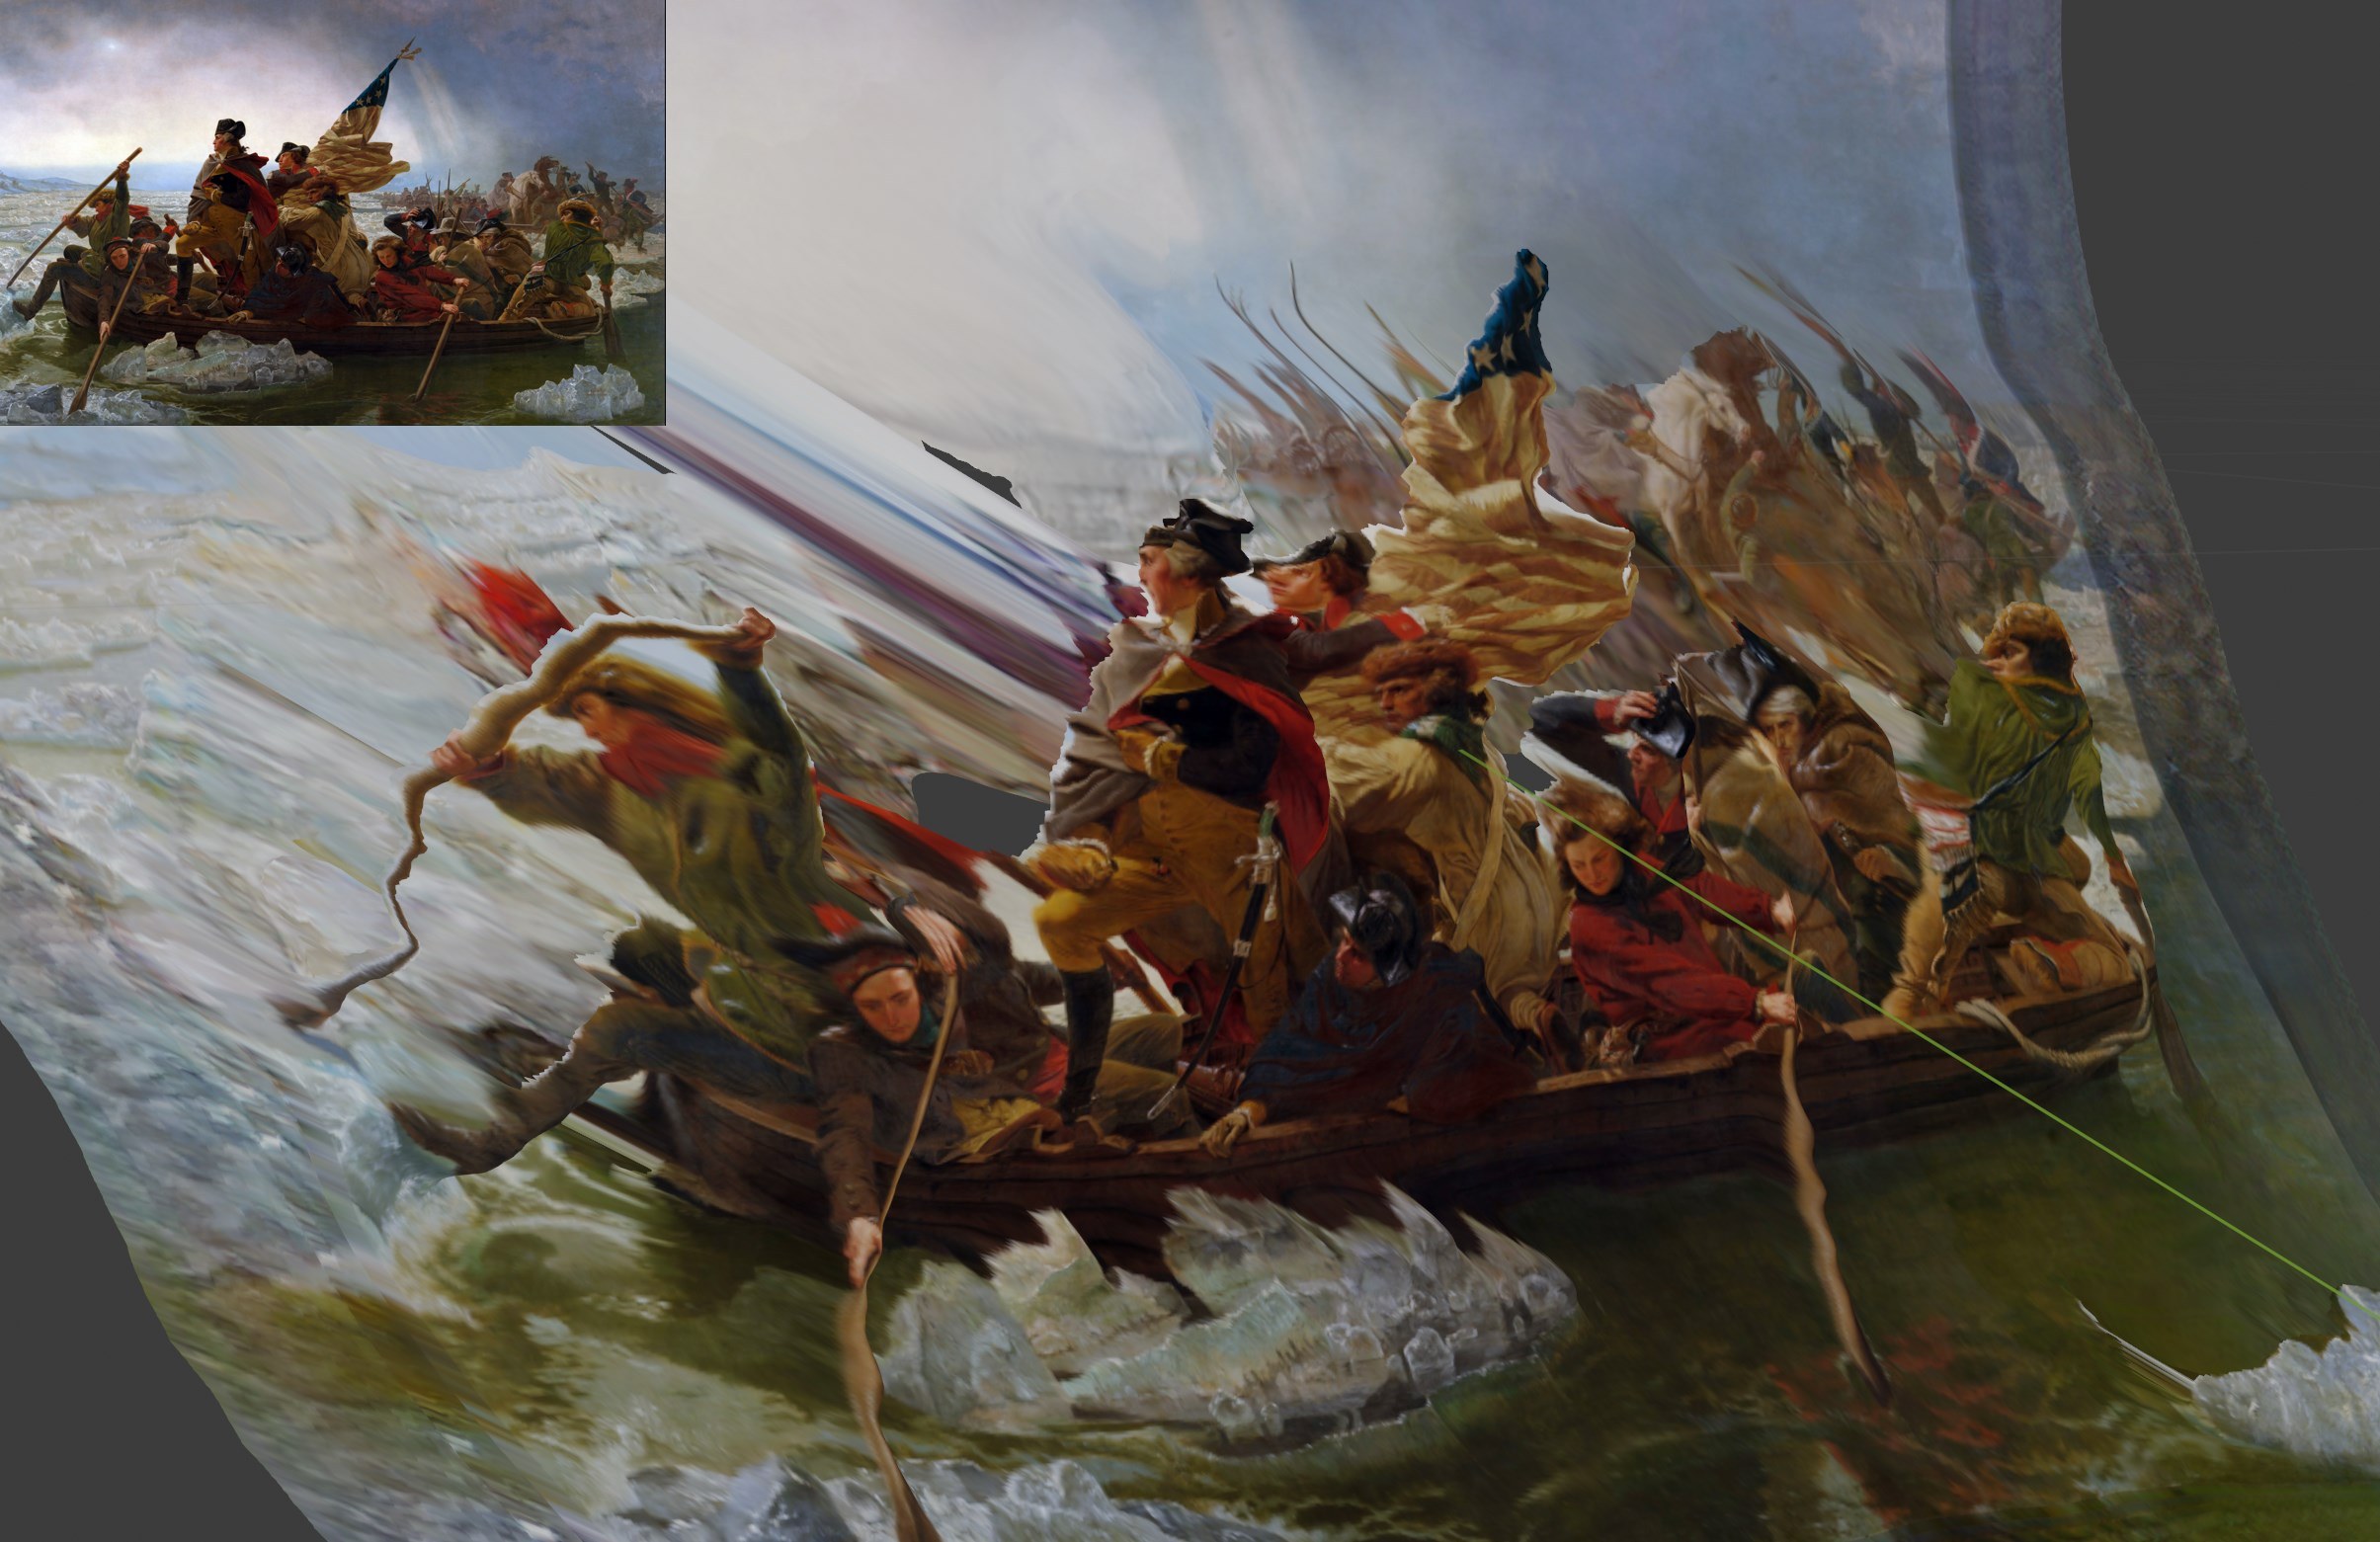
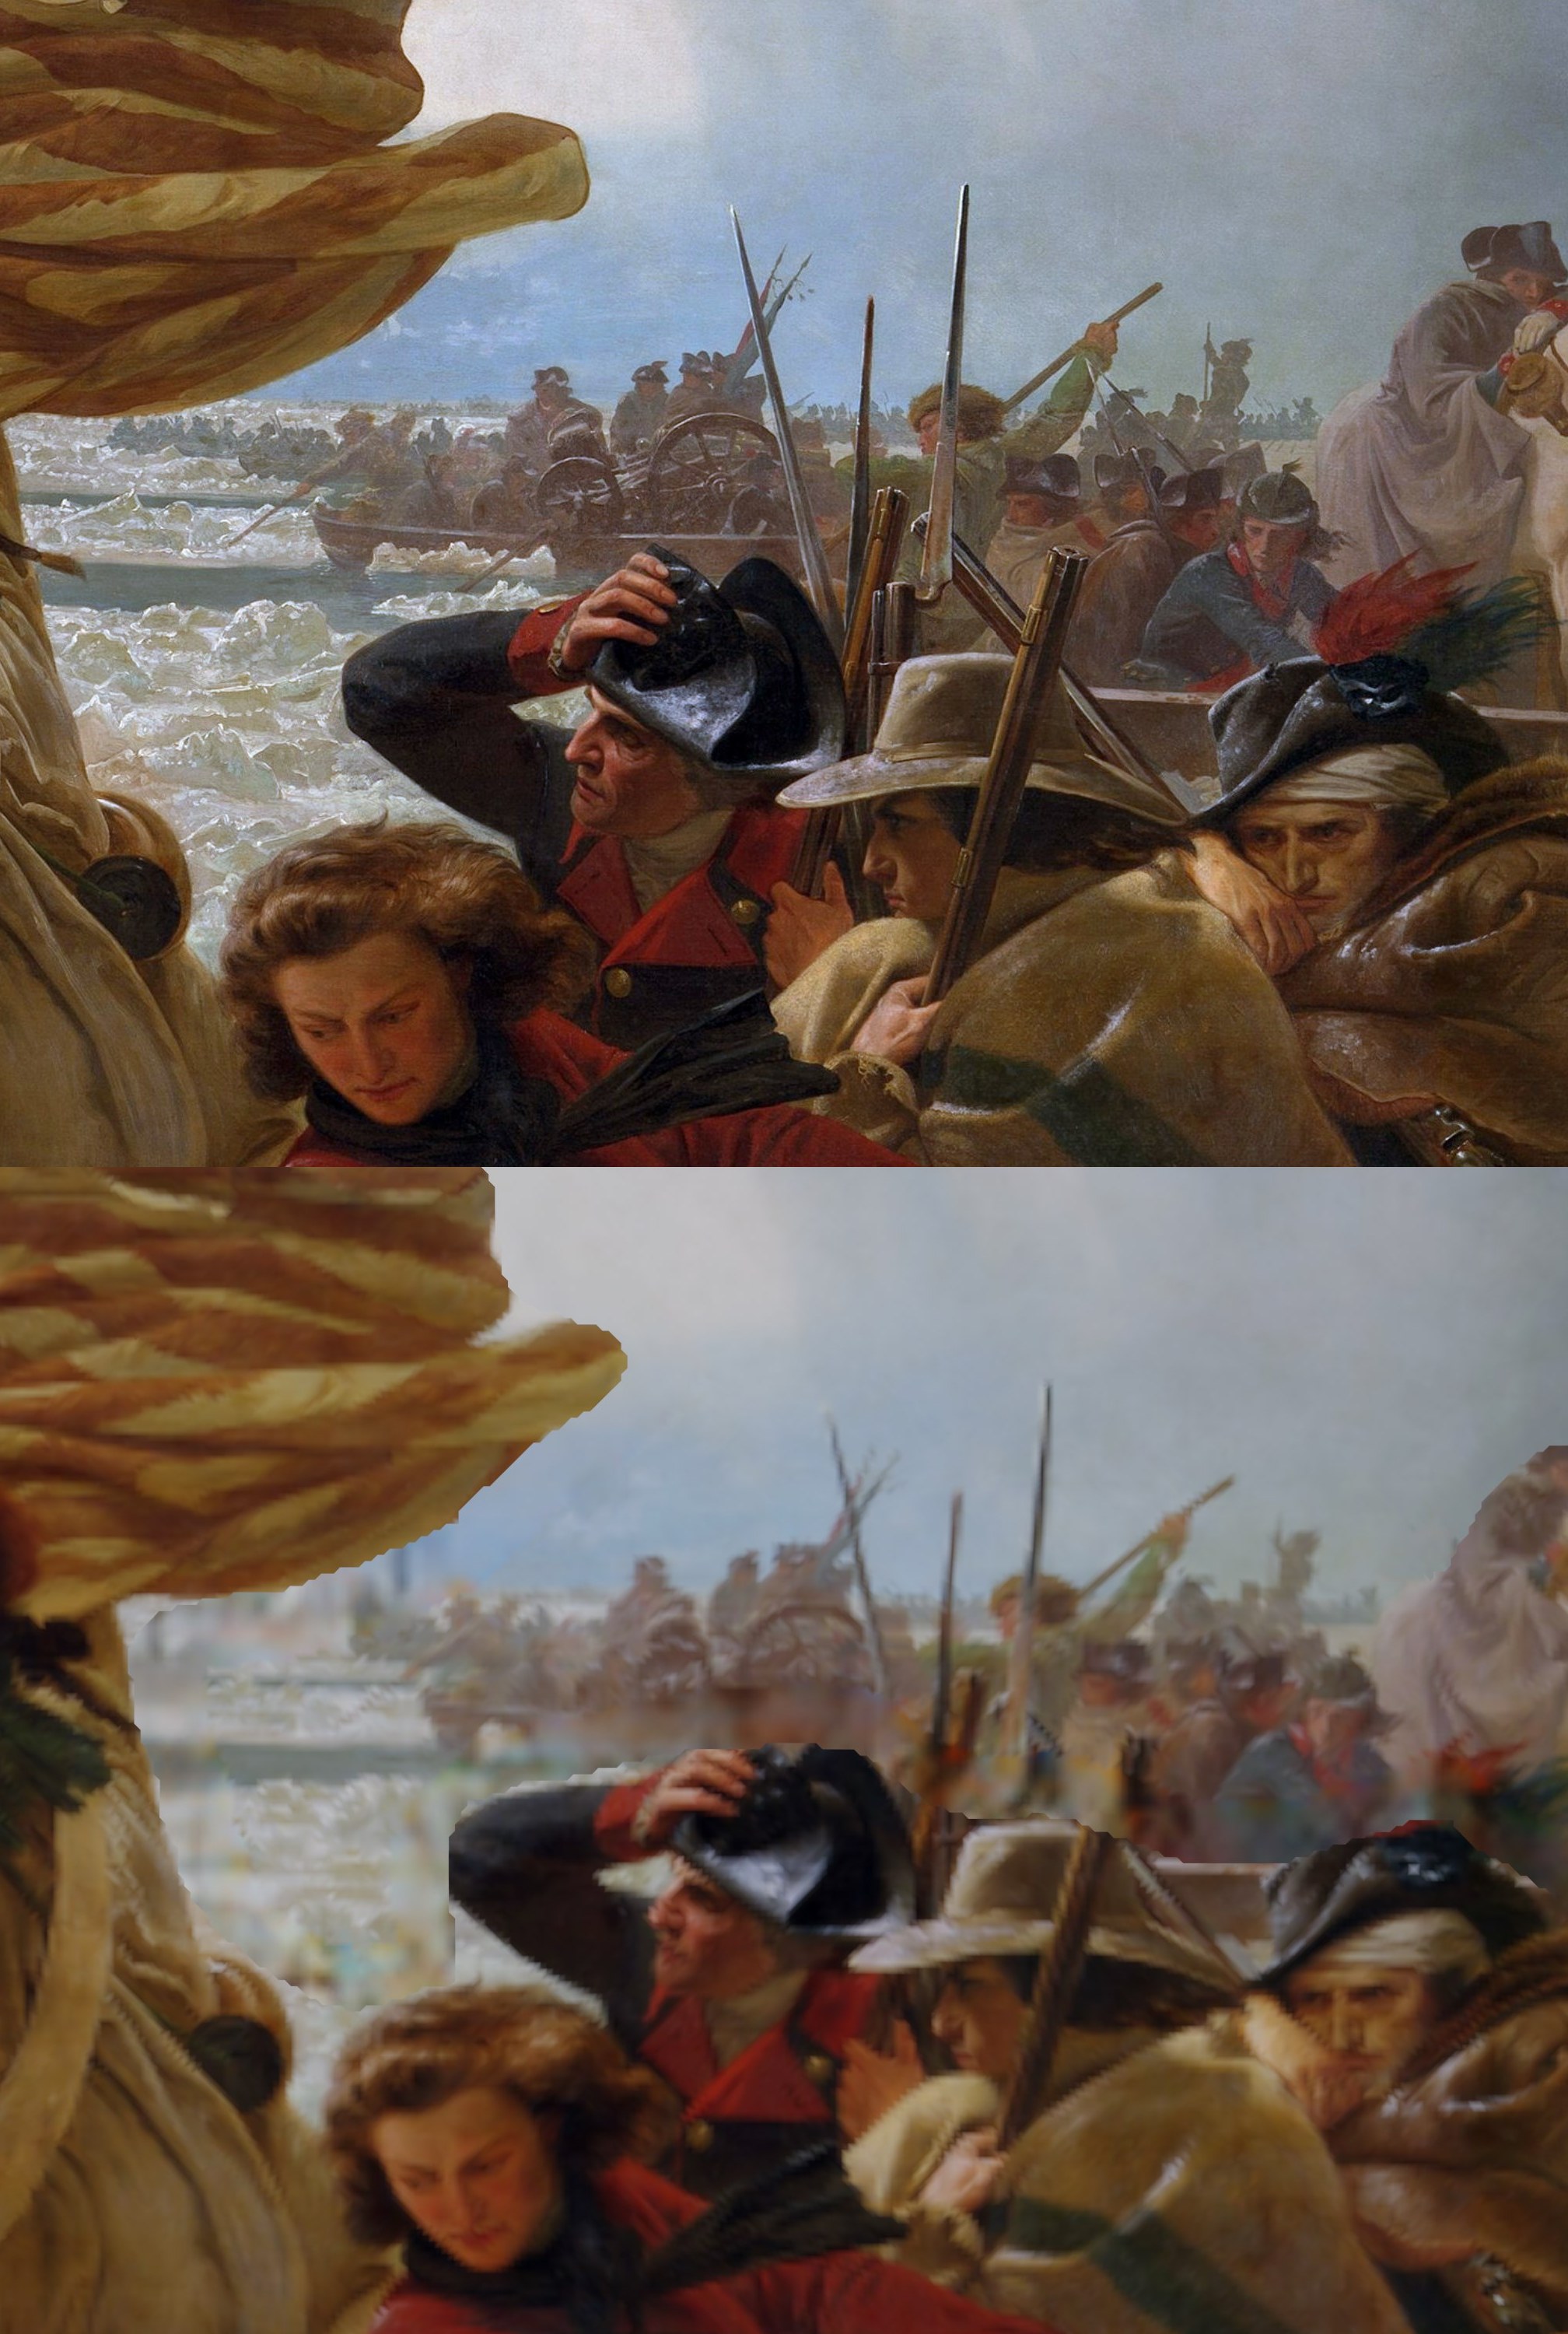
AI Outpainting
The concept of AI Outpainting is very exciting, however, as you can see above, the style quickly drifts away from the original.
Resolution is also a big issue, the AI is limited to 1024 pixels, and to be able to get any kind of coherence you need to use half of it to give context (as anything outside the 1024x1024 frame is not taken to account by DALL-E). Even at 1024 pixels, quality also seem to degrade as the style drift.
Problems with scene scale and coherence makes working at higher resolutions impractical.
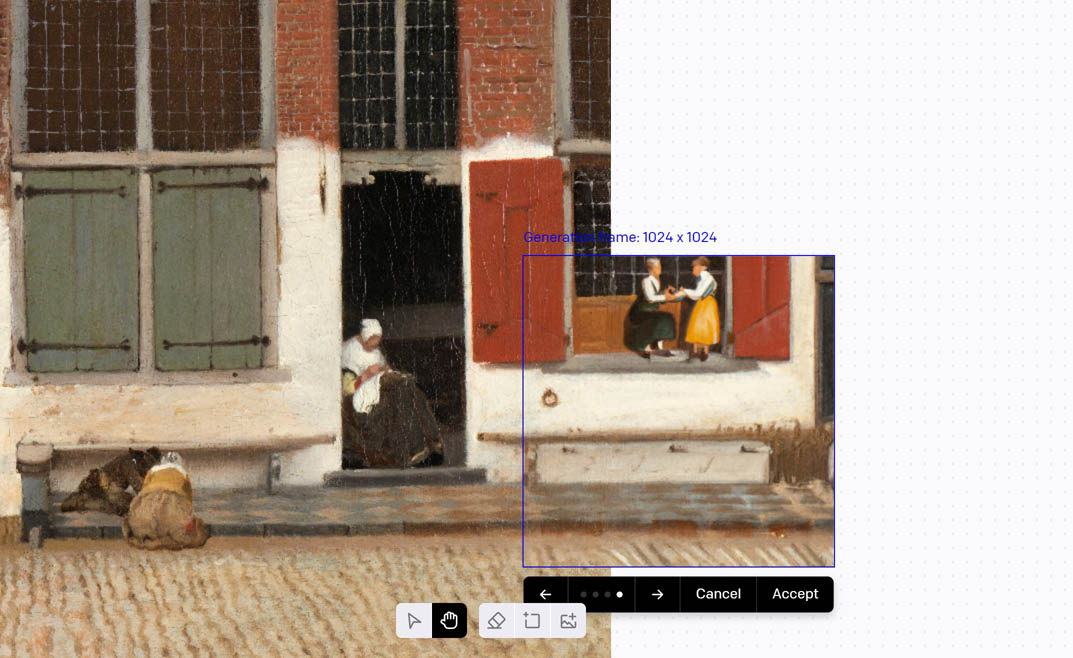
Additionally, note that DALL-E’s editor has some other unaddressed problems…
However, generally I do find the inpainting/outpainting in DALL-E 2 to be more robust compared to stable diffusion (even using the special models/controlnet/lama).
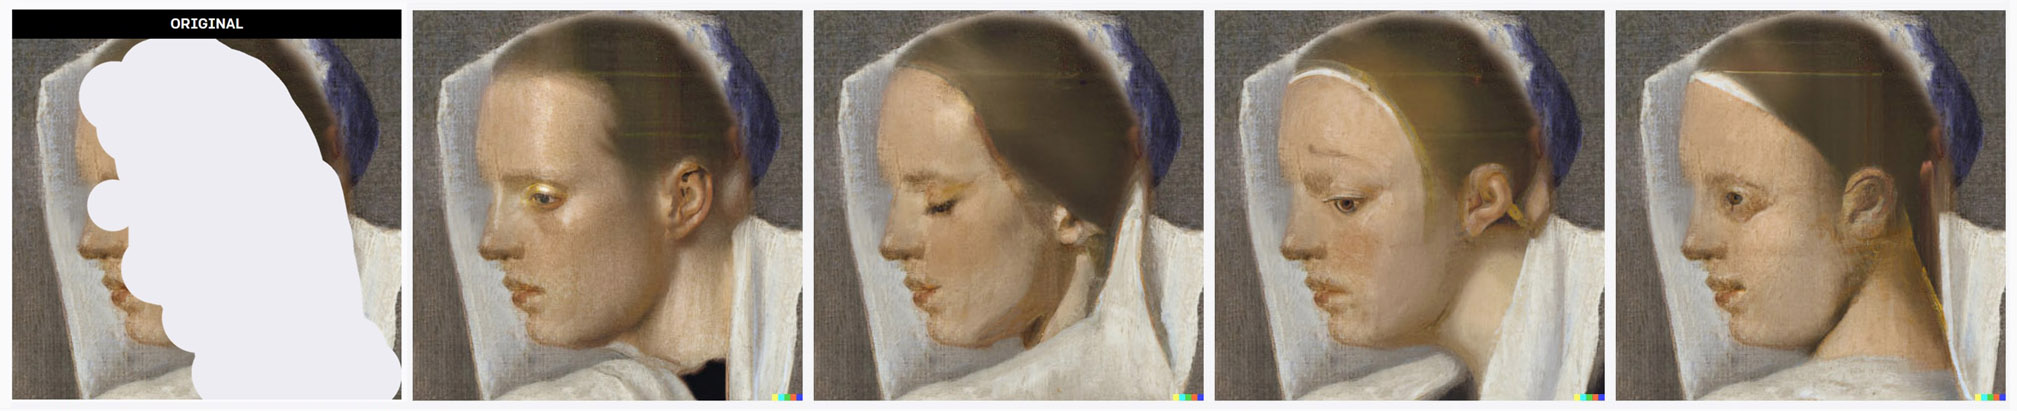
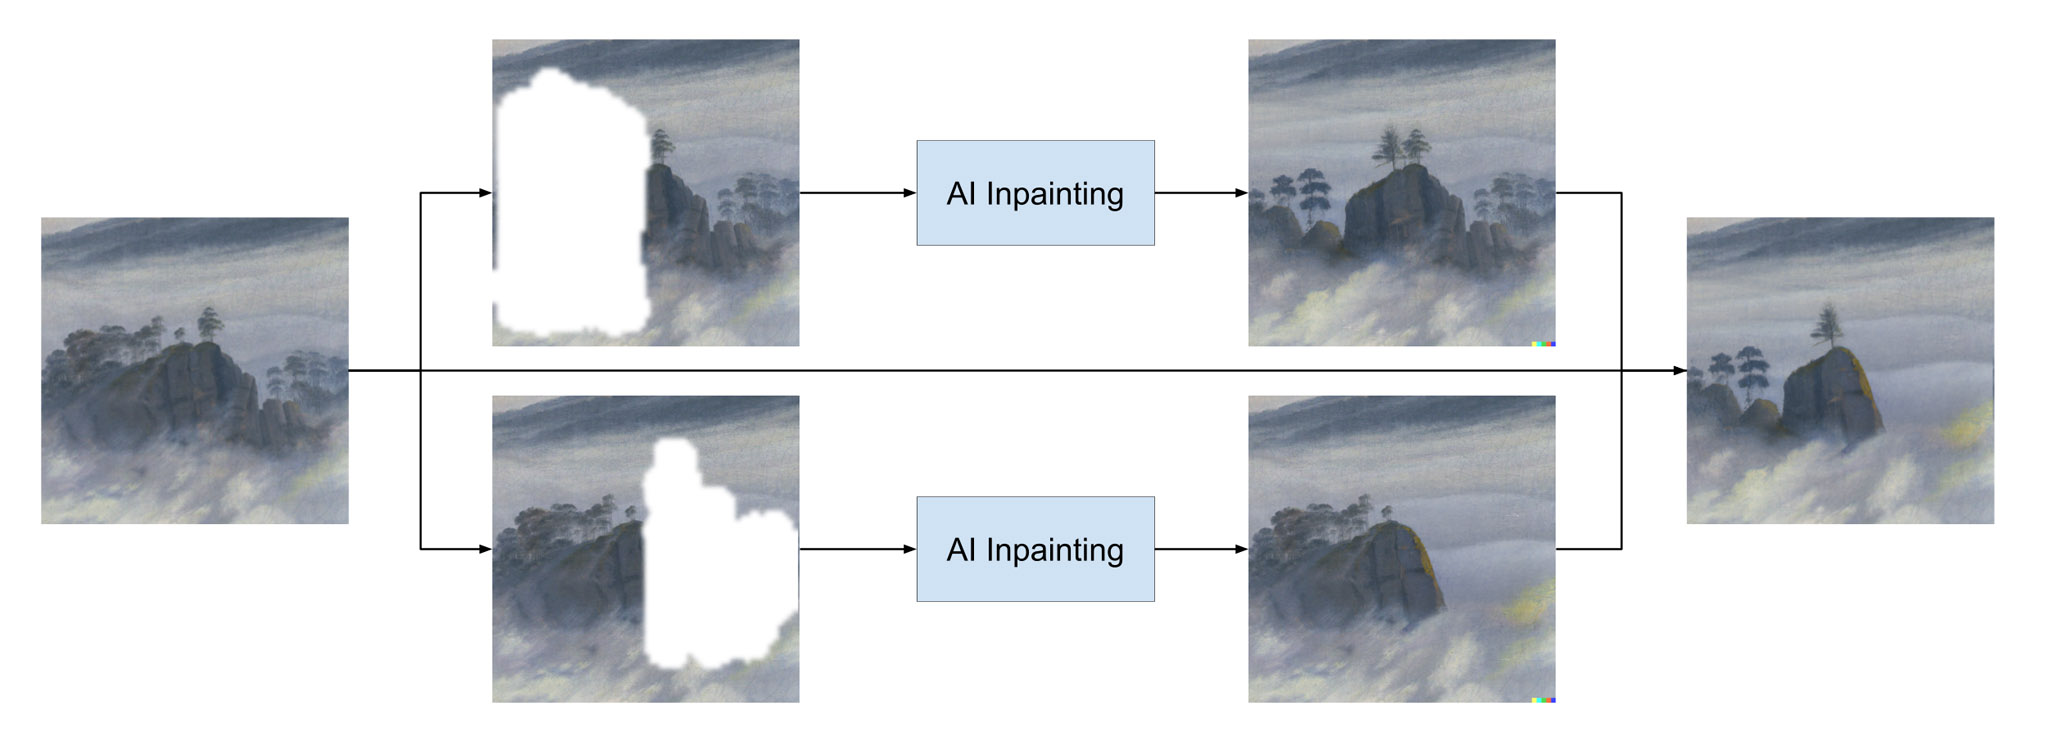
Variations using AI Inpainting
If you want to create a variation of some part of a painting, you can do inpainting multiple times in parallel, and then combining the result. This is more robust than outpainting since we don’t feed the AI with it’s own result.
However, note that on closer inspection, the result often does not really look like it was painted by the original artist.
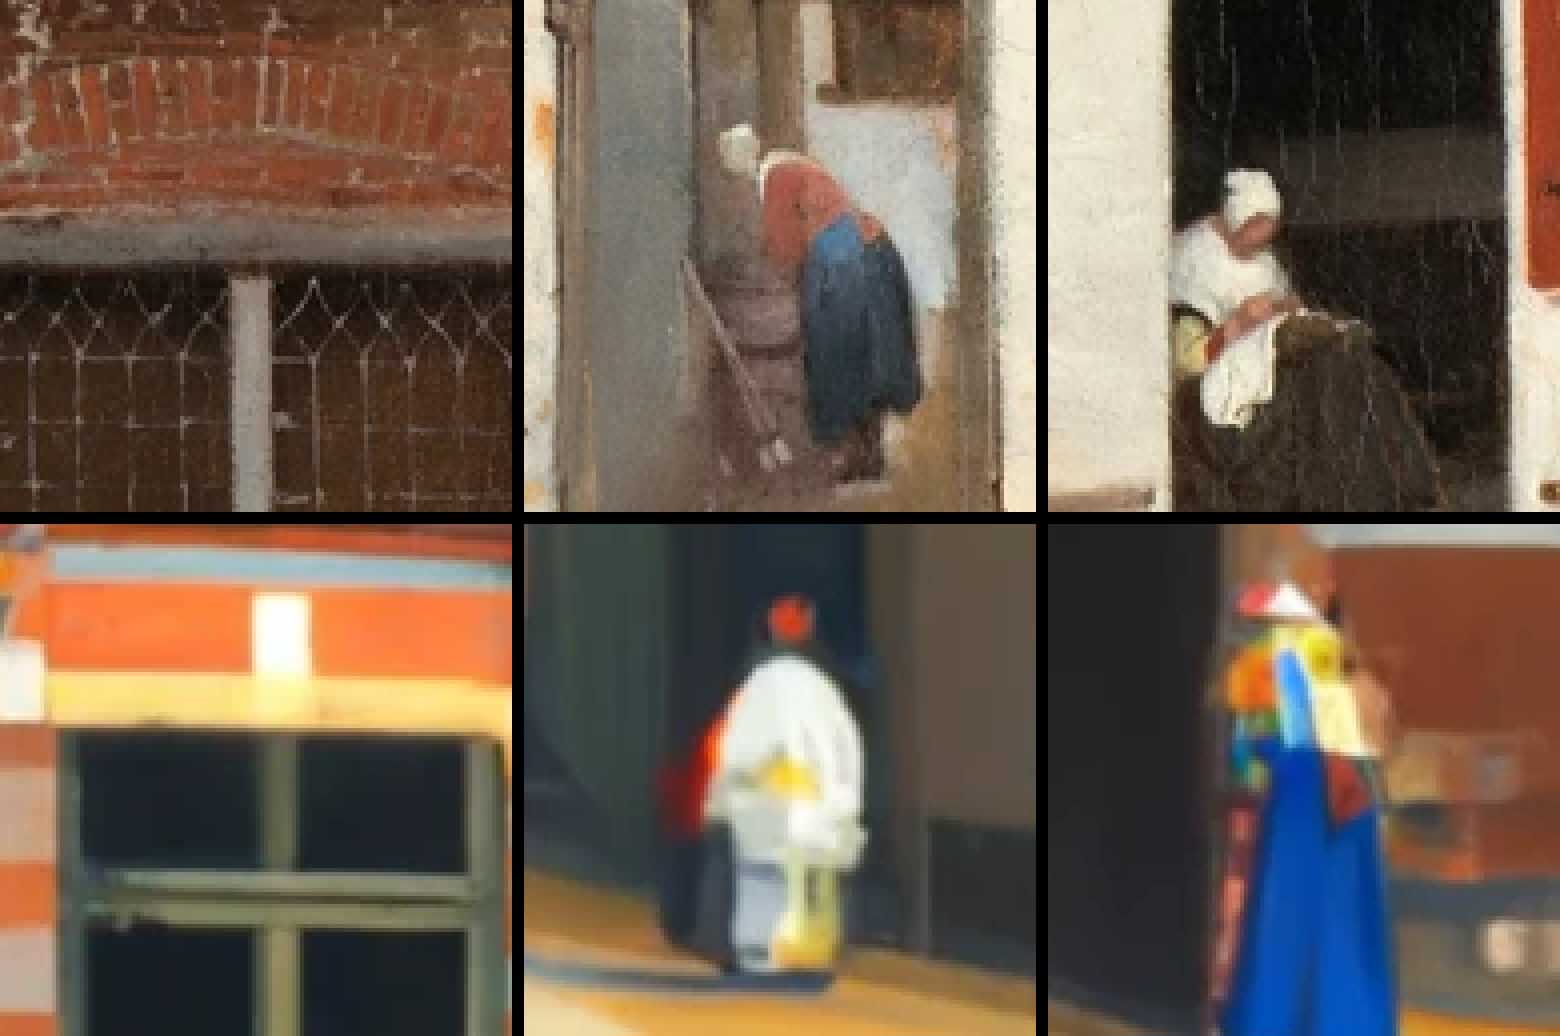
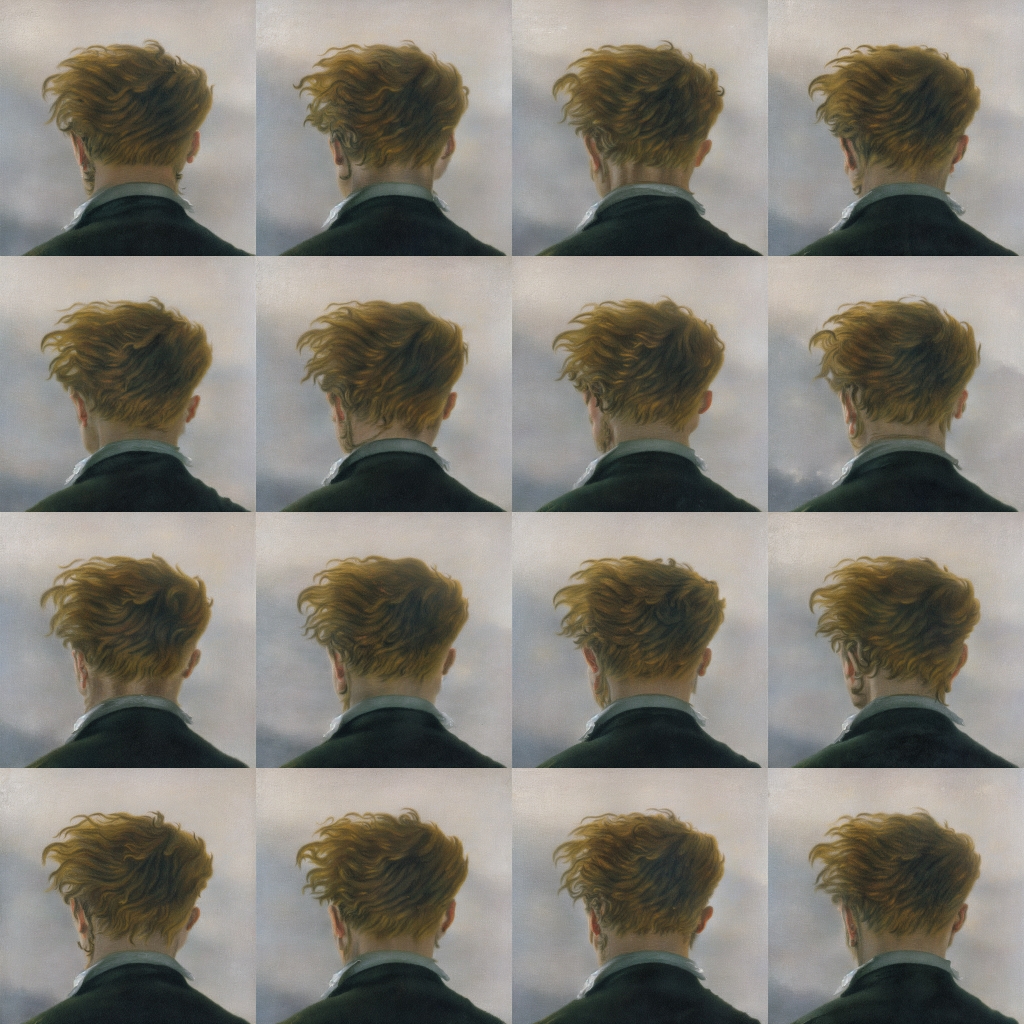
Simple animation using stable diffusion
Using stable diffusion img2img you can generate a new image based on an original image, and you can set the amount the end result is allowed to deviate from the original (a parameter called Denoising Strength), it also tries to follow a description in text which you also supply. There is also a random seed parameter, so even if you use the same input (image, description text and denoise strength), changing only the seed will give you a variation. This can be used to generate frames of an animation.
Pros
- Quick to do. In A1111 Web UI, to generate a animation texture of 4x4 frames, just set 16 as batch count and a image grid will be automatically generated
Cons
- Installing Web UI locally requires using git, and a good GPU is recommended for decent performance
- For playback in your experience, it needs either GPU memory to store frames, or decode a movie in real-time
- Often need frame interpolation (inside the shader) too look good (result is chaotic as it doesn’t care about previous frames)
- Original image shine through too much (for the example below, while it looks a bit like the wind is blowing in the hair, it also looks like he put in a generous amount of hair spray in the morning)
Topaz Gigapixel AI
Gigapixel AI (purchased/tested in 2021) is a very useful tool to reduce filtering artifacts and jagged edges of source material. It can increase the perceived resolution slightly (but only to a certain extent of course).
At some point, I found that the models of a new update tended to have too much sharpening halos so I reverted back to version 6.0.0. The model called “Low Resolution” is the one that seems to have the least artifacts, but “Standard” can also be useful (more detailed, but more artifacts). It would be good if it was possible to use old models in the new versions, or at least to have multiple versions installed…
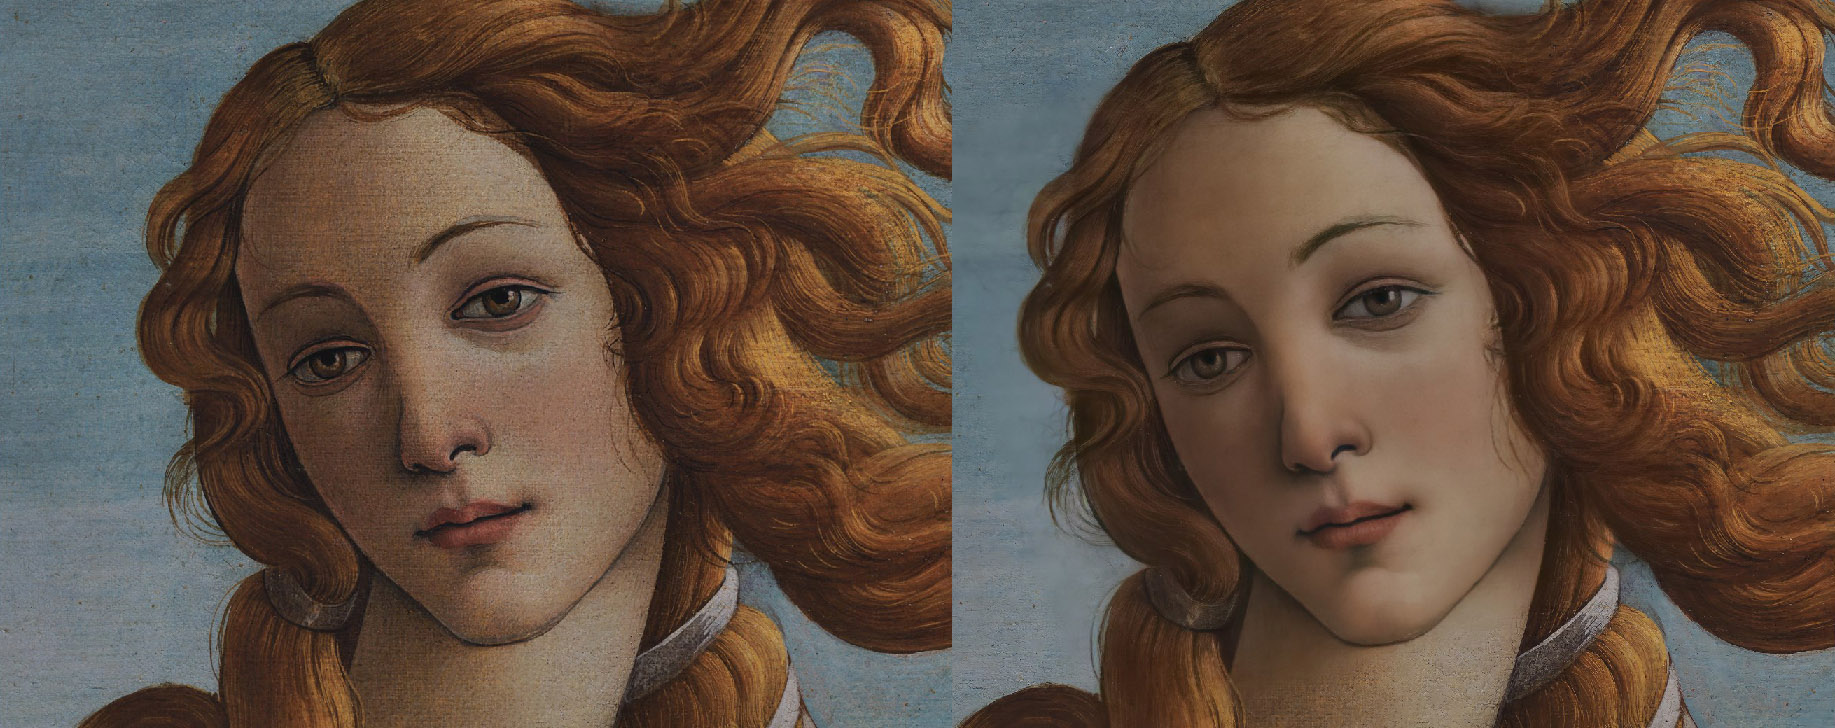
Remini
Remini.ai can increase detail for blurry or low resolution faces, and also roughly painted faces. I tested this in 2022, check out this video for a more recent comparison also including Fotor and Canva.
It will also make faces more photorealistic and a also bit smooth and generic as if retouched for a fashion magazine. This might, or might not, be what you are after. However, if you do happen to like this look, you will need to reproduce it manually for the rest of the body as the AI result is only applied to a square around the face. Remini often leaves a dithering style pattern on the face and it also have an internal max resolution, so if you have a high resolution source image, output might actually look badly upscaled.
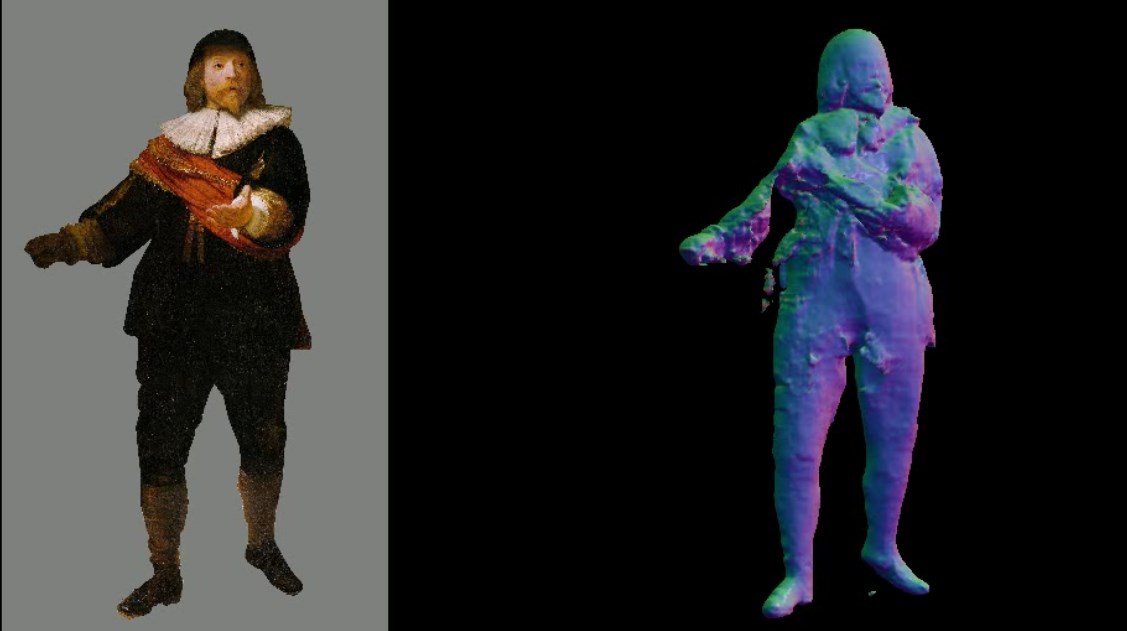
Generated AI Avatars using PIFuHD
PIFuHD (tested 2020) can take an image of a human and make a textured 3D model, however the model was developed for photos, not paintings. By manually processing the source material, I managed to get some basic results. However for our use case, it did not feel worth the effort.
This is also a bit annoying to use as it is not mature software (it’s a demo from a 2020 academic paper from facebook AI researchers)
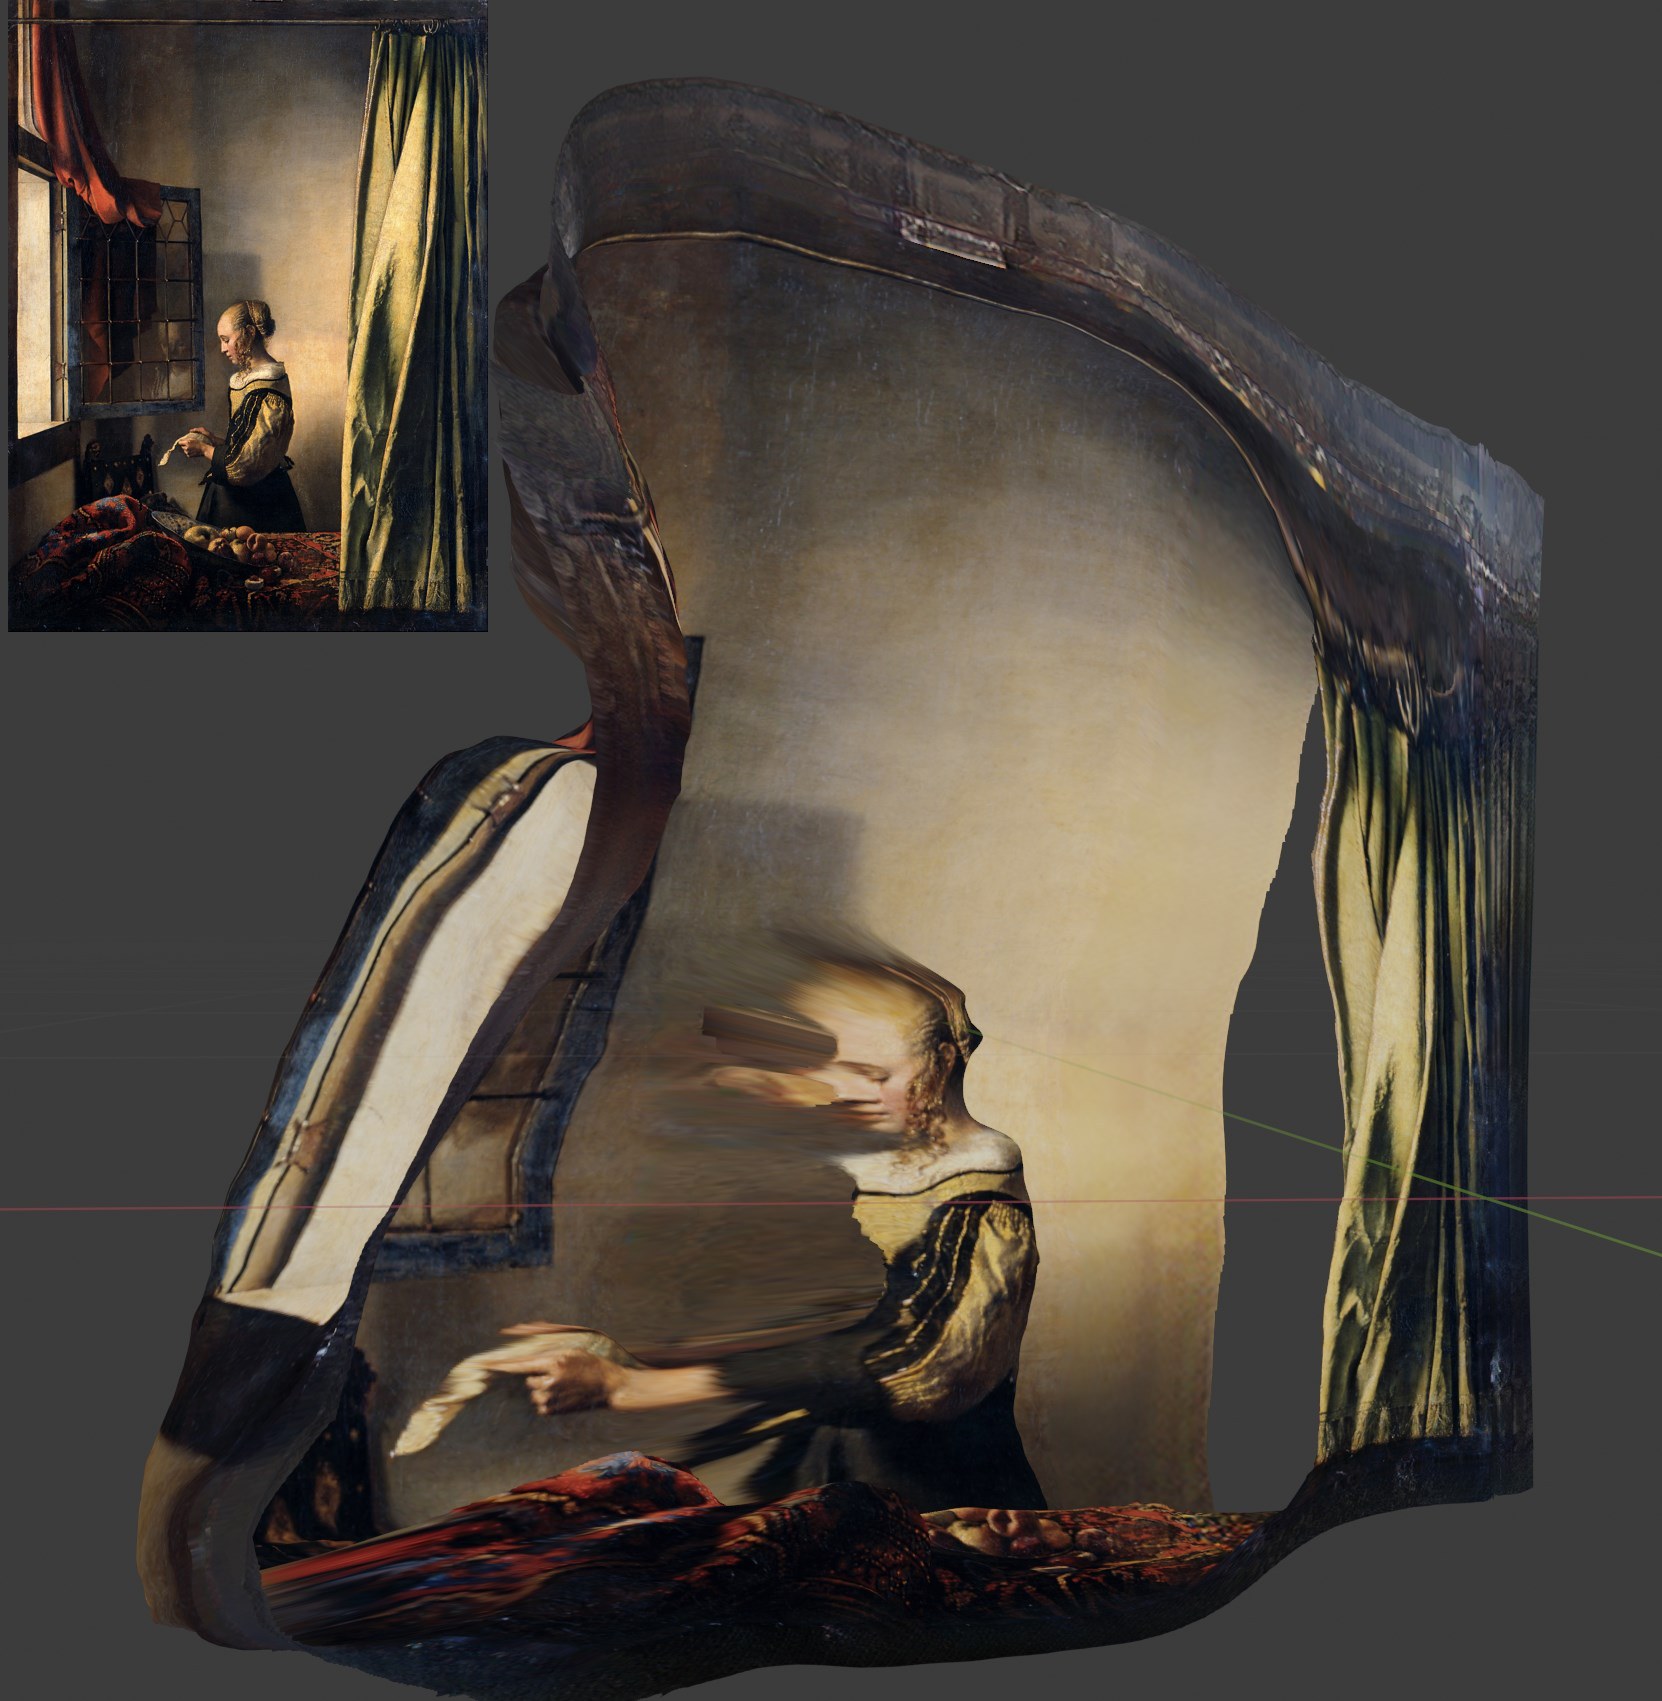
Generate 3D Scene based on single image
The method described in 3D Photography using Context-aware Layered Depth Inpainting generates a 3D model from an image, and also does non-trivial inpainting to fill in missing parts in the layer behind.
The intended use case seem to be to make mobile videos with very limited camera movement, like this one:
The 3D model from another angle:
The output uses vertex colors, not textures, which makes this hard to deal with from a workflow perspective. In order for good quality, output mesh would need to be really heavy, and then converted into a textured mesh with reduced vertex count.
Depth estimation / depth-mask seem to be using an even lower resolution.
More examples:
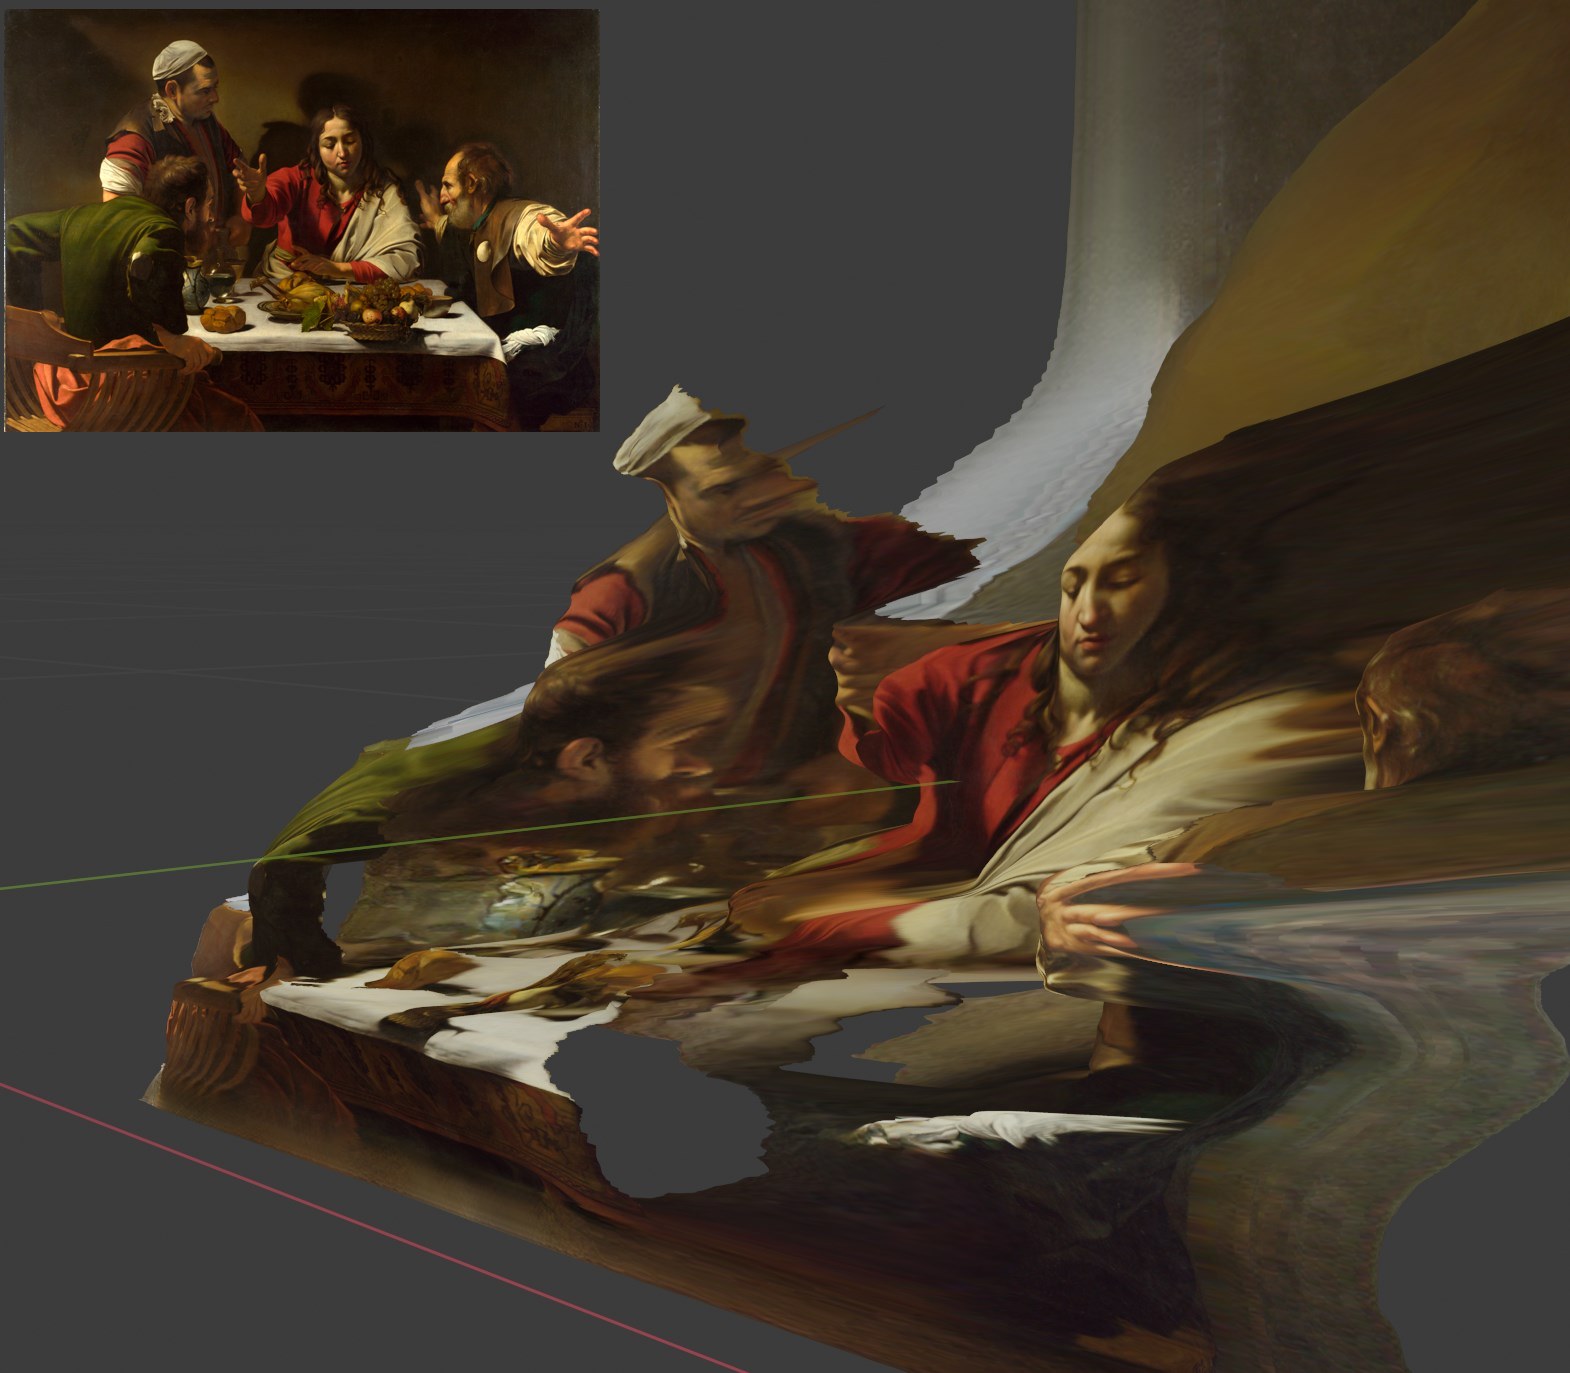
This last one is actually pretty decent and could maybe be used as a starting point, but as you can see, as 3D objects, these are not anywhere near usable…
Conclusion
That’s it for now! I will try to avoid exploring this in depth, because it really does take a lot of time. But if you do know of some related, really great workflow, do let me know!